In the Blink Of an Eye

I’ve been away from social media for several months. This community matters to me and I’m grateful for each of you, which is why I want to take a few moments to fill you in on what has happened and where things stand today.

In early June of 2021, my 82 year old mother fell and sustained a traumatic brain injury. In the blink of an eye, life changed. As a family, we were blindsided and faced a steep learning curve regarding the brain, memory and how best to care for our mom. I quickly made the decision to let go of the remainder of my dye season and put my business on the back burner so that I could help care for my mom.

Today, two years since her fall, our mom is doing fairly well, which is all the more reason to celebrate the silver linings; for example, she and I go out for beautiful drives, and each time we see our home town as if for the first time. She shares stories about her childhood which are all new to me and they help me appreciate her even more. My mom’s daily walk is an inspiring lesson in strength, perseverance and determination. Best of all, each day holds laughter and gratitude.

I’m writing this in September of 2023 and winter will soon be here. Winter will give me space to ask the big questions about what can be next and listen for some answers. While I don’t have a clear picture of how exactly I’m moving forward, know that I’m figuring it out and when I have more to share, you’ll be among the first to hear. Until then, know that I remain grateful for your support, love and compassion.

Quilt Fun Beginning With Paper and Scissors

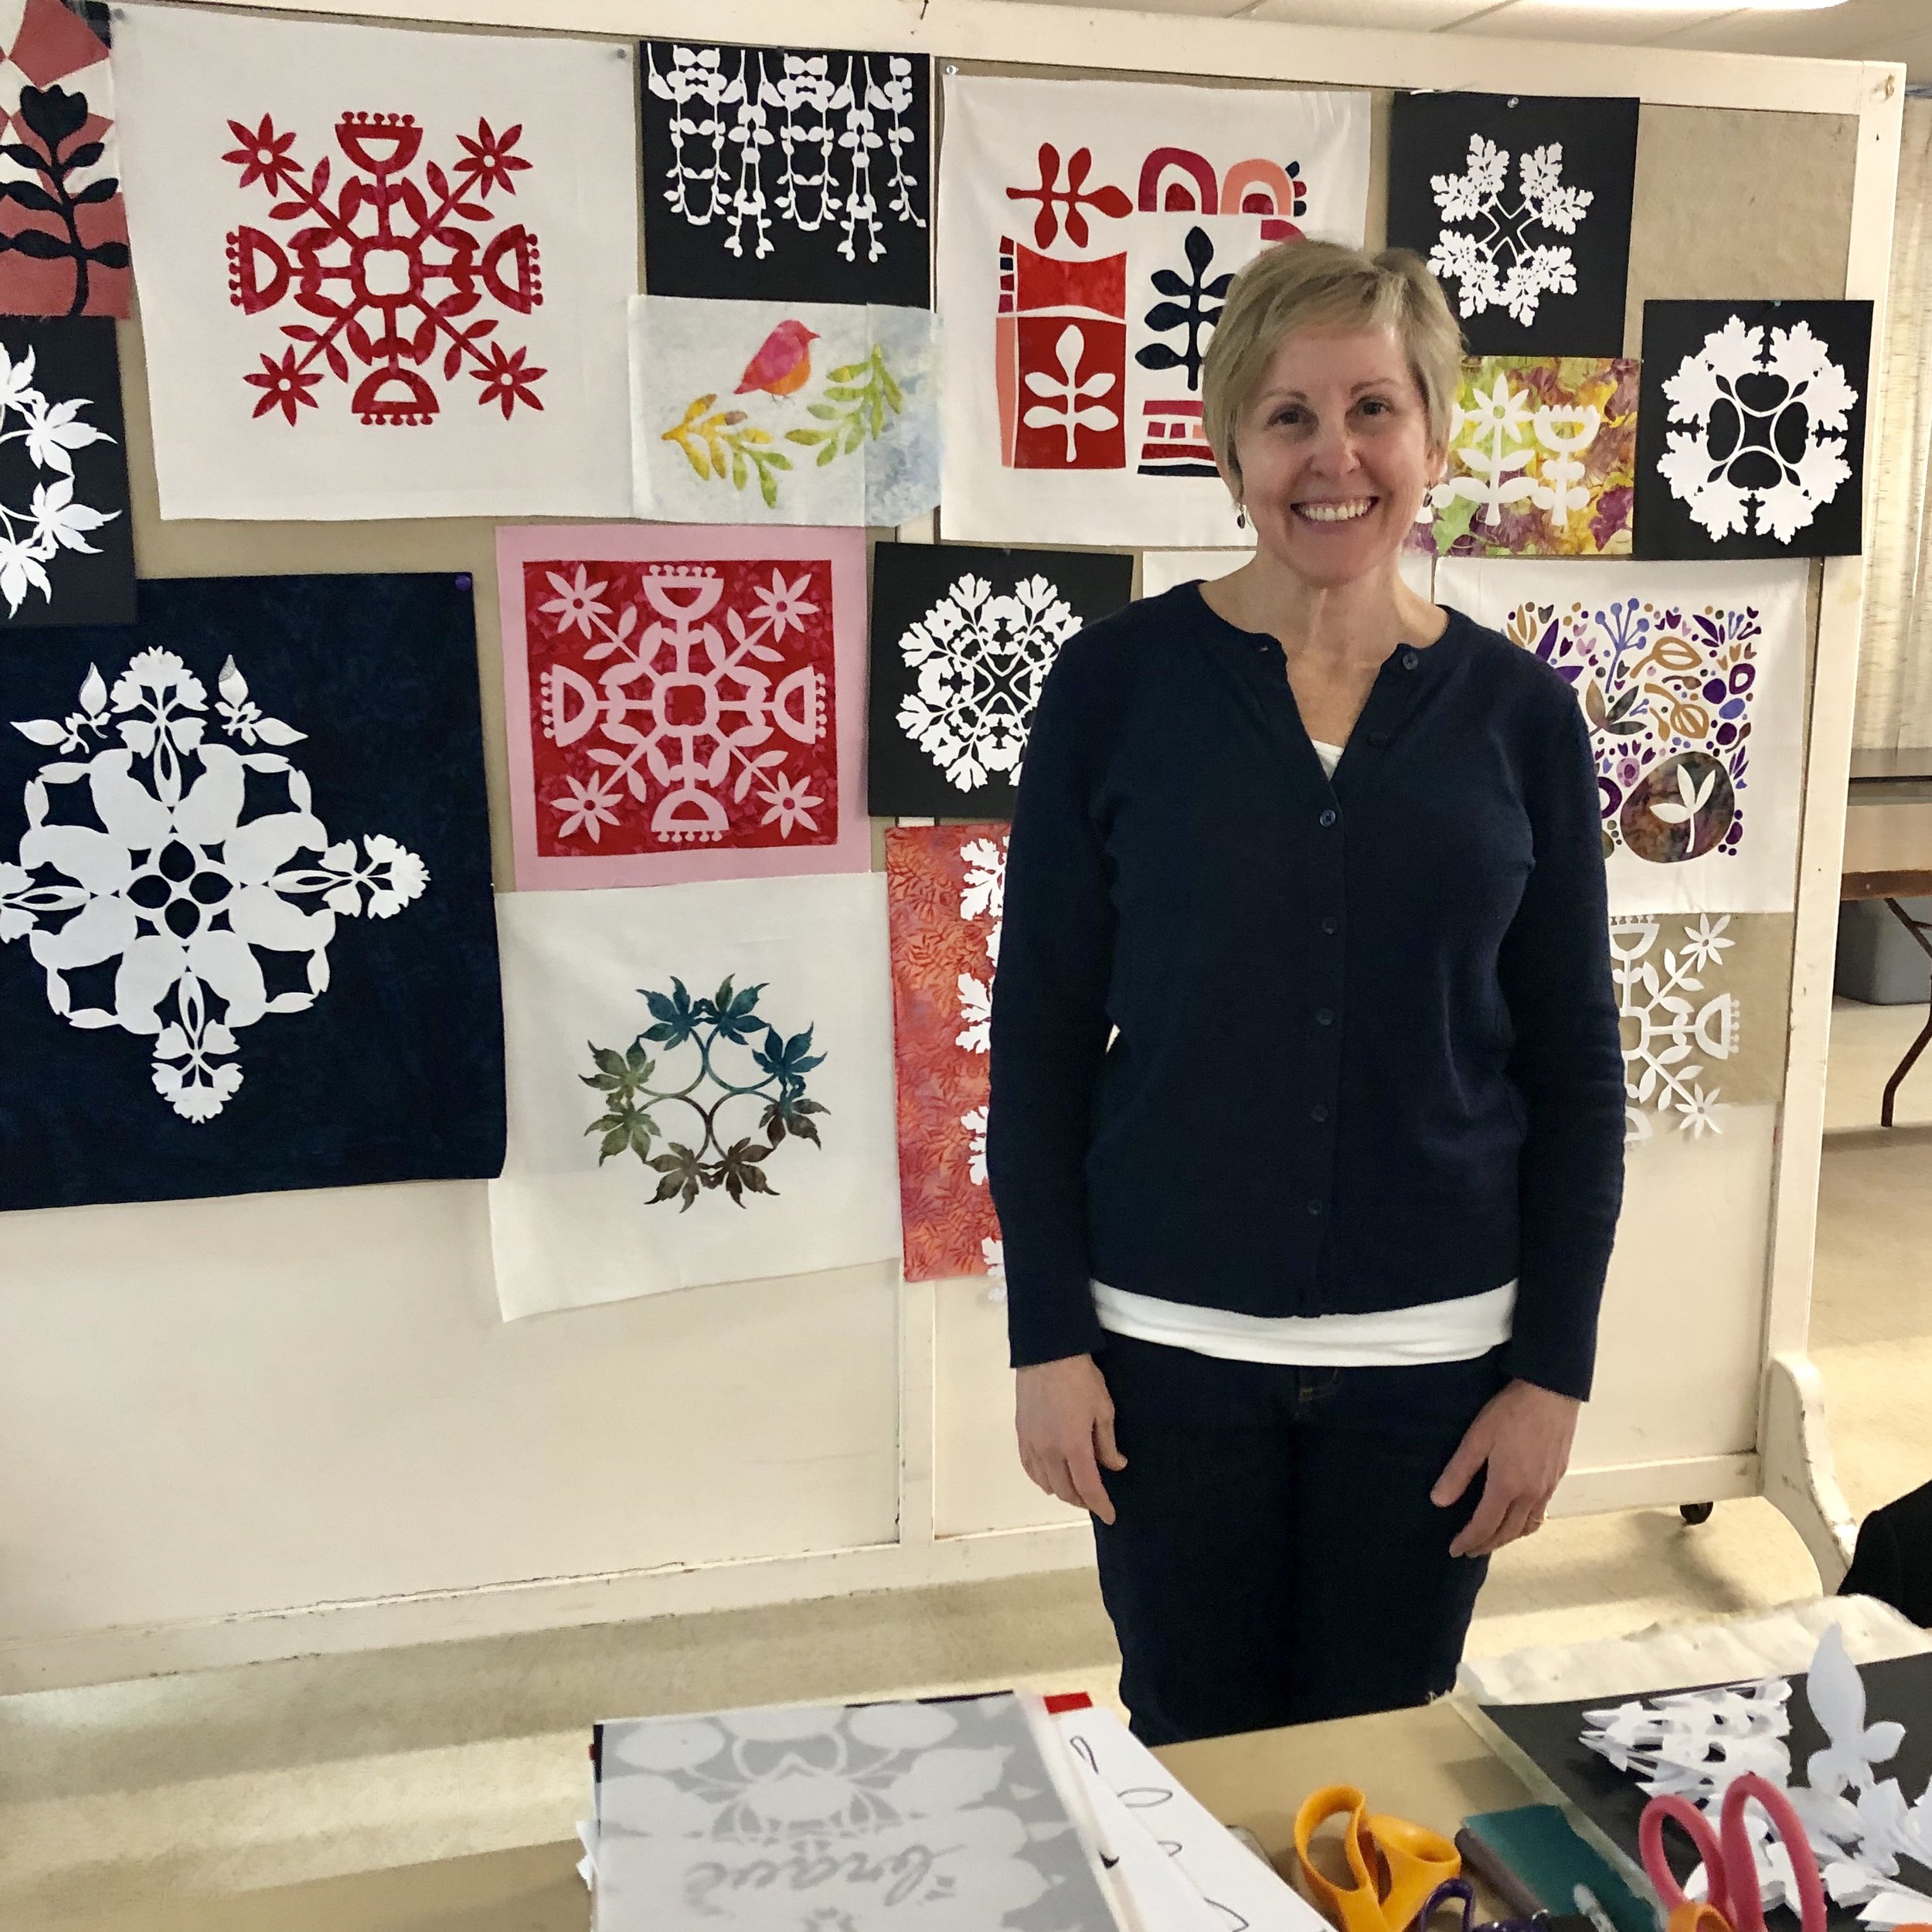
Saturday March 16th was National Quilting Day, and I was fortunate to have been invited to teach an abbreviated version of my paper cutting workshop to members of the Thumbstall Quilt Guild in Marcellus, NY. Being a member of this guild made sharing my love of paper, scissors and fabric even more special. We had three hours together and these quilters played hard! Let’s have a look over some of the students’ shoulders as the day unfolded:

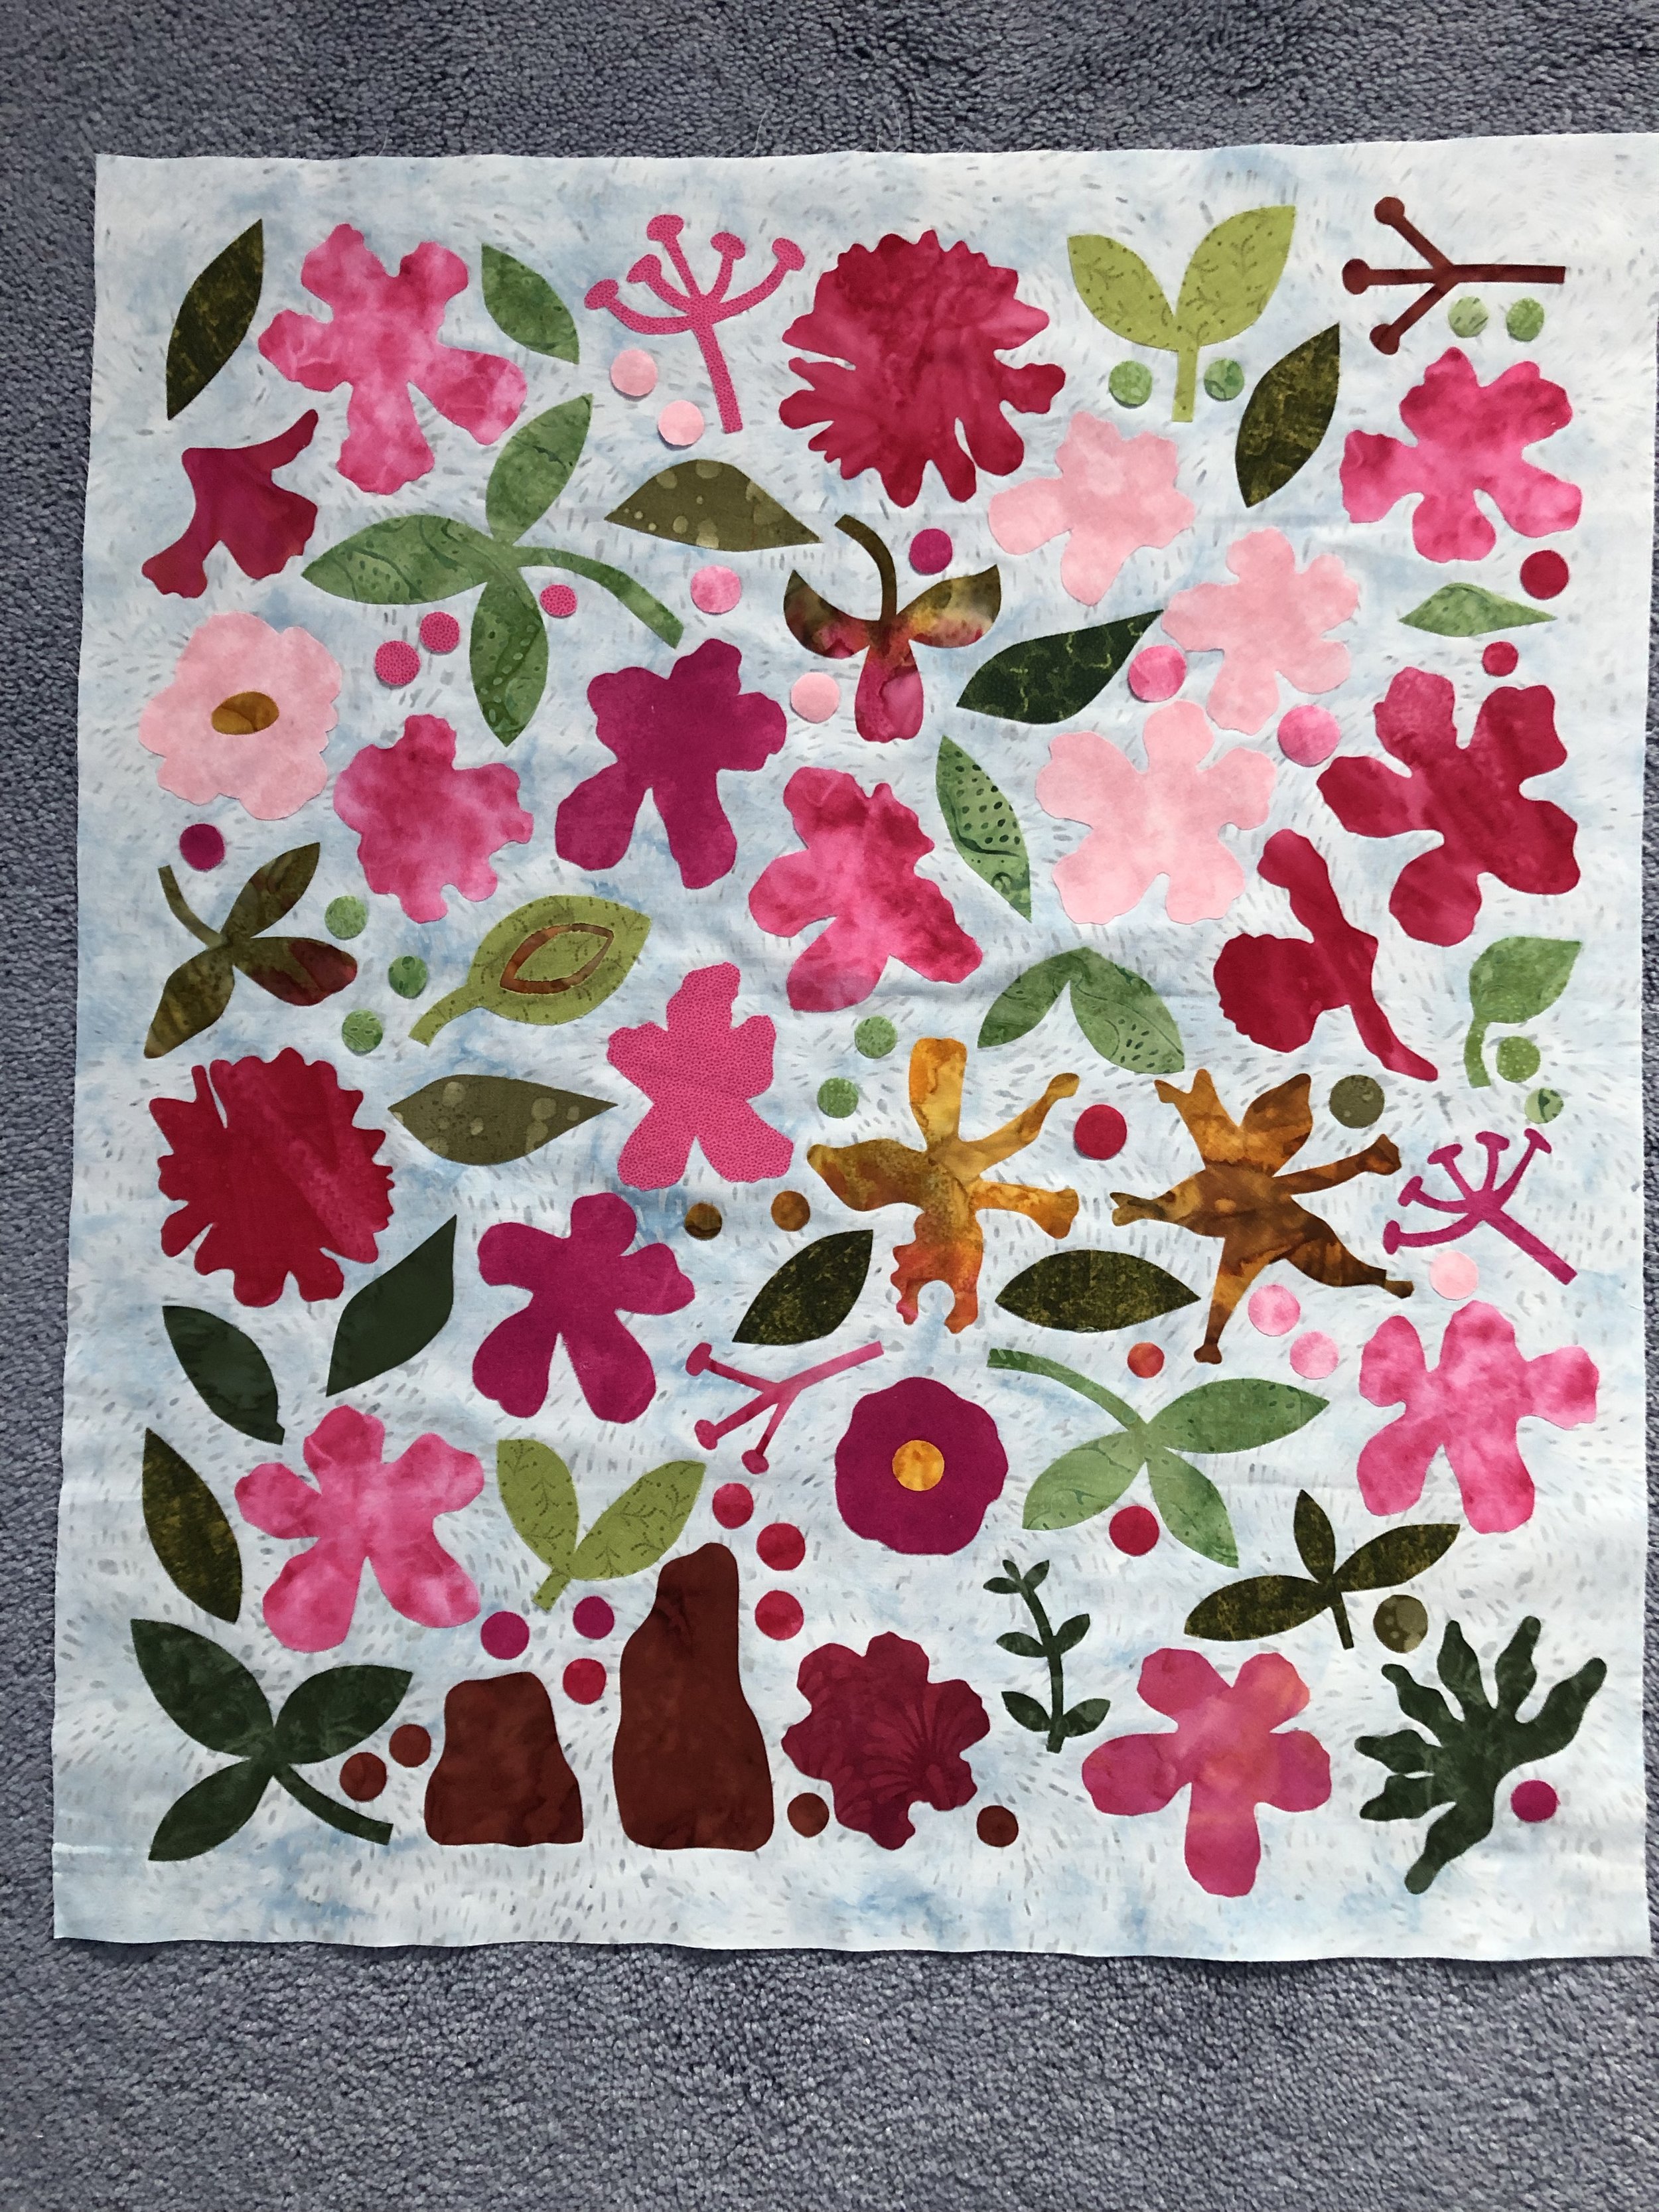
Denise Bell invited me to teach my workshop, and I have to say that I could make an entire post on solely her paper cuttings and fabric pieces! She took the ball and ran so far with it that she might still be running! Denise recently returned from Mobile, Alabama and used the lush vegetation as her inspiration. Of the many layouts and ideas Denise explored, each and every one of them had such a painterly quality and an undeniable liveliness. For me, her work inspires jubilation and celebration. Keep going, Denise!

Denise Bell smiling through the entire workshop!

Denise Bell smiling through the entire workshop!

Denise made this piece inspired by her recent trip to Mobile, Alabama.

Denise made this piece inspired by her recent trip to Mobile, Alabama.

Carol Armstrong used her class time to take one basic motif and apply it to each of the folded papers we reviewed at the top of the class. So industrious, and so inspired! She took a bold step out of the box and began layering her paper cuttings and coming up with compositions for really intriguing pieces. I, for one, will be anxious to see what comes of her paper play!

Carol wisely cut several variations on a theme.

Carol wisely cut several variations on a theme.

Pam Mueller tracing one of her unique designs.

Pam Mueller tracing one of her unique designs.

Pam Mueller (right) had a small mountain of paper cuts to choose from and decided on this one for fabric. During class, she pulled a turquoise watercolor batik from her stash, which will make for spectacular results! I can’t wait to see Pam’s finished piece!

Marion Lutz (below) wowed the room with her gorgeous leaf and stem design! Back at her home studio, Marion continues to make progress. She has big plans for this piece, and all I’ll say is that I already put in my request for a pre-order! It’s going to be so good!! You can find Marion @fauxsister.

Marion Lutz tracing her lovely design.

Marion Lutz tracing her lovely design.

Marion Lutz’s original design. Stunning!

Marion Lutz’s original design. Stunning!

Camille DiSanza took one of my Flower templates and enlarged it free hand, then cut the original template from the light green fabric and her enlargement from the dark green. She set out to create a shadow effect and nailed it! She’s a shining example of giving oneself permission to play and letting the magic happen!

Camille DiSanza with her fabric panel destined to become a pillow cover.

Camille DiSanza with her fabric panel destined to become a pillow cover.

Sue Hopkins traced and fused my Tulips template onto an asian print before fusing it to her table runner. The original table runner pattern had a different flower appliqué, but Sue decided to venture out on her own! Using only the fabric she brought, she cut a total of seven Tulips. She decided to place four Tulips across one end of the runner and three across the other end. I can’t wait to see your finished table runner, Sue!

Sue’s fabric choice gave added movement to her Tulips!

Sue’s fabric choice gave added movement to her Tulips!

Sue Hopkins fusing Tulips to one end of her table runner.

Sue Hopkins fusing Tulips to one end of her table runner.

Four Tulips down, three to go!

Four Tulips down, three to go!

Typically, I offer this workshop as a full day, so I can attest to how hard these women worked in three short hours! When I see the progress and the fun people have, I often feel this should be a multiple day workshop. It would allow for a comprehensive exploration of the process, as well as allow students the space and time to really develop their own ideas and get valuable feeedback from the group.

If your guild or quilt group is interested in this paper cutting and fused appliqué workshop, for one day or two days, please email me. It’s a lot of fun, very inspiring and the results around the room are as unique and beautiful as the people creating them. See more of my work on Instagram @tierneybarden.

I’d like to thank the Thumbstall Quilt Guild and all of the students shown above for their permission to share their unique work with all of you. As always, I’d love to hear your thoughts and questions below in the comments!

Is This the Year Of the WIP?

WIPs on trays for portability and easy access.

WIPs on trays for portability and easy access.

Lately, I’ve felt compelled to finish my piles of WIPs before I have a chance to add even one more to their numbers. Today, I’m sharing helpful tools for organizing WIPs, and I’m inviting you to share your best tips for completion in the comments below. I’ve also made a place for us to share our WIPs and cheer each other to the finish line: #finishedwips2019. Join in the fun!

If the sheer number of online quilters posing the challenge to finish their WIPs this year is any indication, this just might be the Year Of the WIP! We all have them, and I’ve seen some excellent organizing and planning tools. For printed pages to document and track your WIP progress, Patchwork Posse offers this free set. Also, there’s the Quilter’s Planner. (I’m not paid for endorsing these products, I just appreciate them and want to share.) You can also make your own chart to suit your needs. While I don’t use one, I have a feeling there’s probably an app for this, too!

Arrowhead quilt blocks, machine pieced

Arrowhead quilt blocks, machine pieced

Here are four of my WIPs to tackle this year. I’ve made my own tracking page, and I’ve tacked it to my design wall so that it’s always in plain sight. I store my WIPs on trays, uncovered, on a bench in my studio. The portable trays are stored in the open within easy reach of the sewing machine or to take up to my hand sewing nest. I also store the spool(s) of thread, bobbin(s) and any instructions, notes and templates on each tray. It’s all about removing hurdles that could slow my progress.

Any amount of success is going to depend on finding the right storage and organizing methods for you. For example, I know that if I cover my WIPs or store them under a bed, I’ll forget they even exist, let alone where I put them, so I know I need to see them. It’s the same reason why I tack up my progress chart on my design wall. It can’t get misplaced, and it’s in plain sight to remind me to make the most of my sewing time.

Postage Stamp blocks, individual 1” squares, machine pieced

Postage Stamp blocks, individual 1” squares, machine pieced

Antique Stars, hand pieced

Antique Stars, hand pieced

My WIPS are a mix of techniques, and these four are my personal quilt projects rather than for my business. They have no deadline, and each was started because I was curious about the technique and the construction process. I like to have a project under way for each sewing method I enjoy, that way, what ever my mood or energy level there’s a project at the ready. I suppose that’s a double-edged sword.

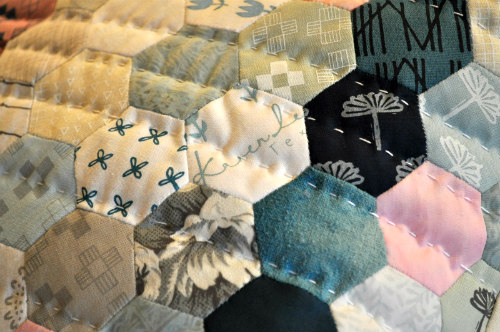
You can see that I have a few methods represented, including machine piecing, hand piecing and English Paper piecing. As far as how each quilt will be quilted, I’ve decided to wait and see what’s best for each as the tops are completed.

My own “Liberty” Stars, English Paper Piecing

My own “Liberty” Stars, English Paper Piecing

My goal for steadily working on these is to try to sew for 30 minutes each morning before my day really gets under way, and then to sew for any amount of time on either Saturdays or Sundays. They say it takes 30 day for a new habit to become routine, so hopefully at the end of the month I’ll have some real progress to share.

Having said that, life happens and I’m not going to beat myself up if any of these are still staring at me from across the room in December; however, in the spirit of the Year Of the WIP, newly organized and with a sewing plan in place, I’m committed to giving it my best shot! How about you?

I’ll share my WIP journey here and on Instagram. Join in: #finishedwips2019! Before you go, in the comments below tell me how many WIPs you have, how you plan to tackle them or what stops you from working on them…after all, there’s safety in numbers!

Winter, Papier Mache and Chocolate

January just outside our door.

January just outside our door.

Like many of us, I highly anticipate quality time in December and January for reflecting and planning, which is primarily why the blog has been quiet. Good things have been brewing.

This post shares my detailed approach to goal setting and planning, but this year, I discovered something new. Thanks to a special episode of The Radiance Project, a beautiful podcast by Heidi Rose Robbins, I’ve added a new step to my planning process. Following Heidi and Ellen’s suggestion, I wrote a letter to myself as if this entire year had passed and I was looking back at what I had accomplished, what I was most proud of and what I was most excited about.

Two things jumped off the page: my wish to continue making and designing quilts, and my need for community.

Writing this letter helped me to zero in on what matters most and to see what is realistic to achieve in the coming year. As you may be sensing, among other exciting things, I’m planning a few fun quilting adventures for anyone interested in stitching, fabric, color and storytelling. Details will be shared in the coming weeks. For me, this simple writing exercise proved to be a powerful, effective tool. Perhaps you’d like to write a letter to yourself, too.

Along with carving out time to organize and plan, I’m proud to say I carved out time for play.

If you saw this ship on my Instagram feed, @tierneybarden, you may recall that making it was quite possibly the happiest time I’ve had in a while! To work again with papier mâché, bits of worn old quilts, lace, wood and glue brought so much joy and wonder into the studio.

You can find Ann Wood’s well-written pattern on her beautiful website here. Be sure to have a look at the other charming patterns in her shop. There just may be a Mr. Boots in my future….

Sailing through winter winds!

Sailing through winter winds!

Homemade hot chocolate and marshmallows!

Homemade hot chocolate and marshmallows!

Making homemade hot cocoa and homemade marshmallows is a delicious way to endure our long winter months.

Recently, my homemade vanilla suddenly turned boozy (has that happened to anyone else?), and resulted in boozy marshmallows! In an effort to make another batch of marshmallows without vanilla extract, I experimented and came up with these even better chocolate almond marshmallows!

This chocolate marshmallow recipe from Saveur comes very close, and if you’d like almond flavor simply add a scant teaspoon of almond extract.

I use this hot cocoa mix recipe from Alton Brown and store it in a big glass container. Light the fire in the fireplace and bring on the board games. Enjoy!

If you have a friend who would enjoy my blog, please share it with them! Have a look at the FREE patterns in the right sidebar - something just might spark your creativity! As always, I love to hear from you in the comments below, and you can always find me on Instagram @tierneybarden!